4 Easy Thanksgiving DIY Decoration Ideas to do With Kids
November 14, 2022
Holidays
November 14, 2022
Holidays
Make some magical holiday memories with your children by involving them in the decoration for this Thanksgiving. Below, we've compiled a list of 4 easy DIY Thanksgiving decoration ideas you can do with your kids. So, grab a brush, unscrew the glue and the fun the being!
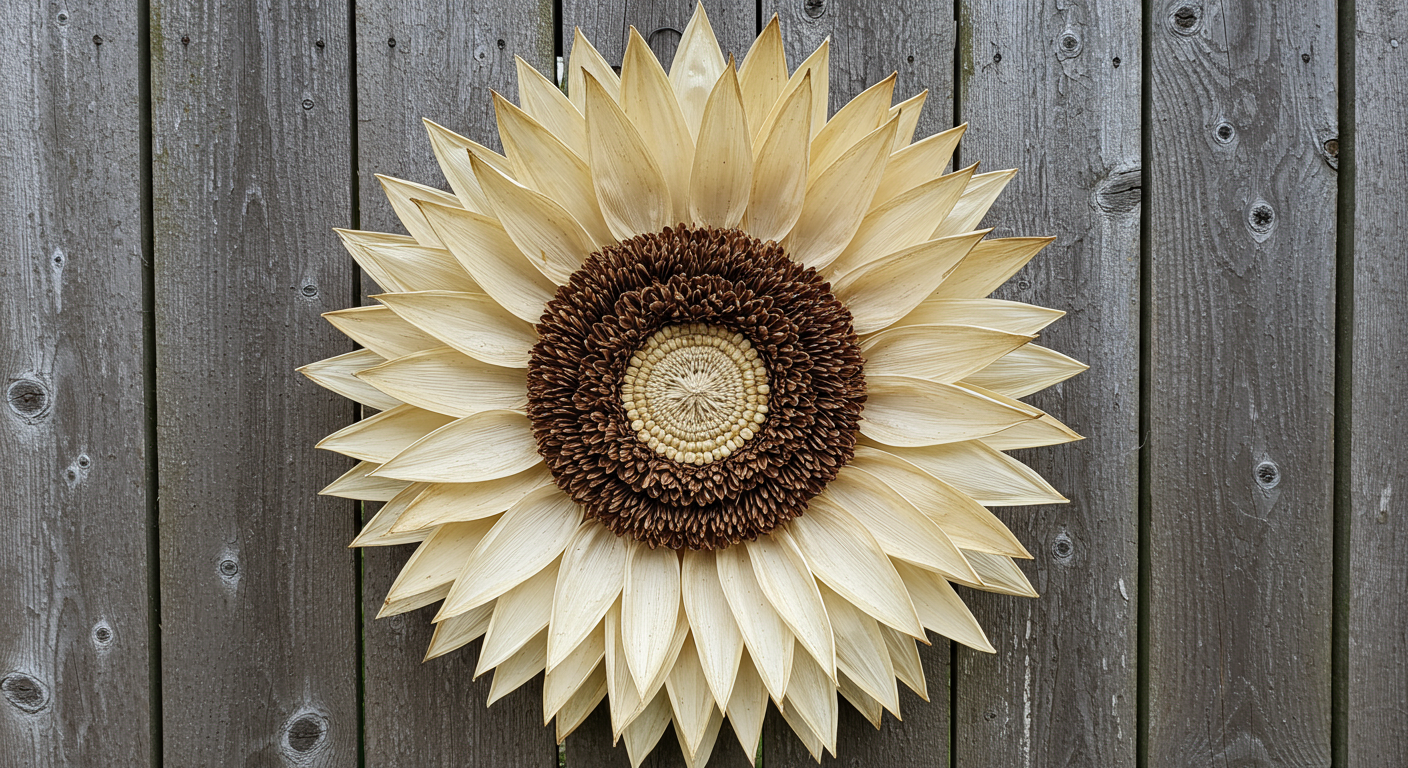
Photo courtesy of designimprovised.com
What you'll need:
Instructions:
Have your children tear the corn husks into strips a couple of inches wide and then paint some of the cornhusks with gold glitter paint. They only need to paint around 20 of the 1-2″ corn husk strips and 10 feathers. While the glitter pieces are drying, they can start hot gluing the plain corn shucks around the wreath. Tip: work in rows, starting on the outside edge by putting a generous dab of hot glue on the wreath form and then pressing down on the base of the corn husk until the glue set. Then start layering another row of husks in front of that one. For the inner row, they will need to bend the corn husk a bit and apply a generous dab of glue at the base, as well as the midway point of the corn husk so it bends backward and lays flat against the other rows of husks. Hold it in place for a few seconds until it sets. Some of the corn husks can be hard to bend, so use some of the thinner husks for the inside row. Once the glittered husks are dry, put a dab of glue on the bottom back side of the husks and then stuck them in randomly around the wreath.
Source: designimprovised.com
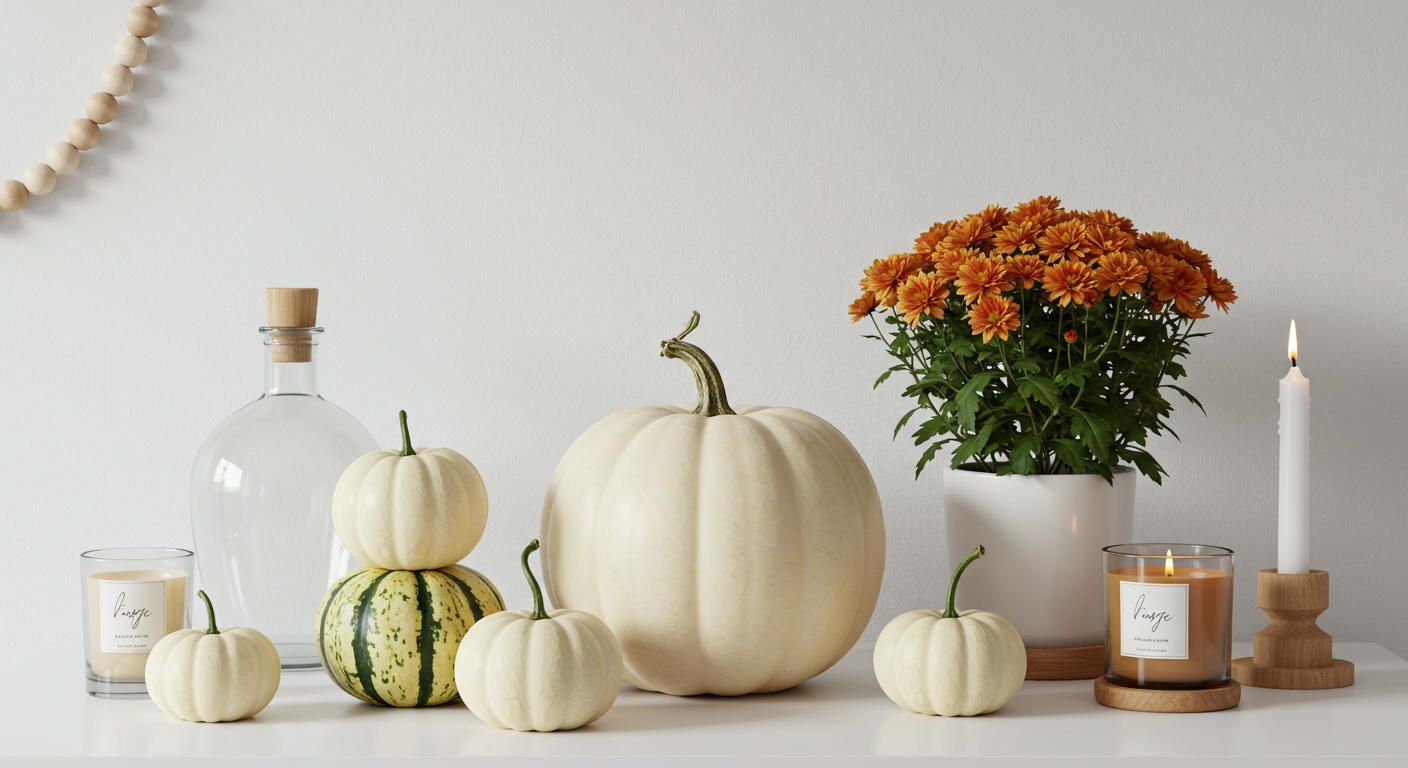
Photo courtesy of themerrythought.com
What you'll need:
Instructions:
A step-by-step process for using the Cricut can be seen here. If you're using letter stickers, simply write out your Thanksgiving menu in the center of your pumpkin.
Source: themerrythought.com
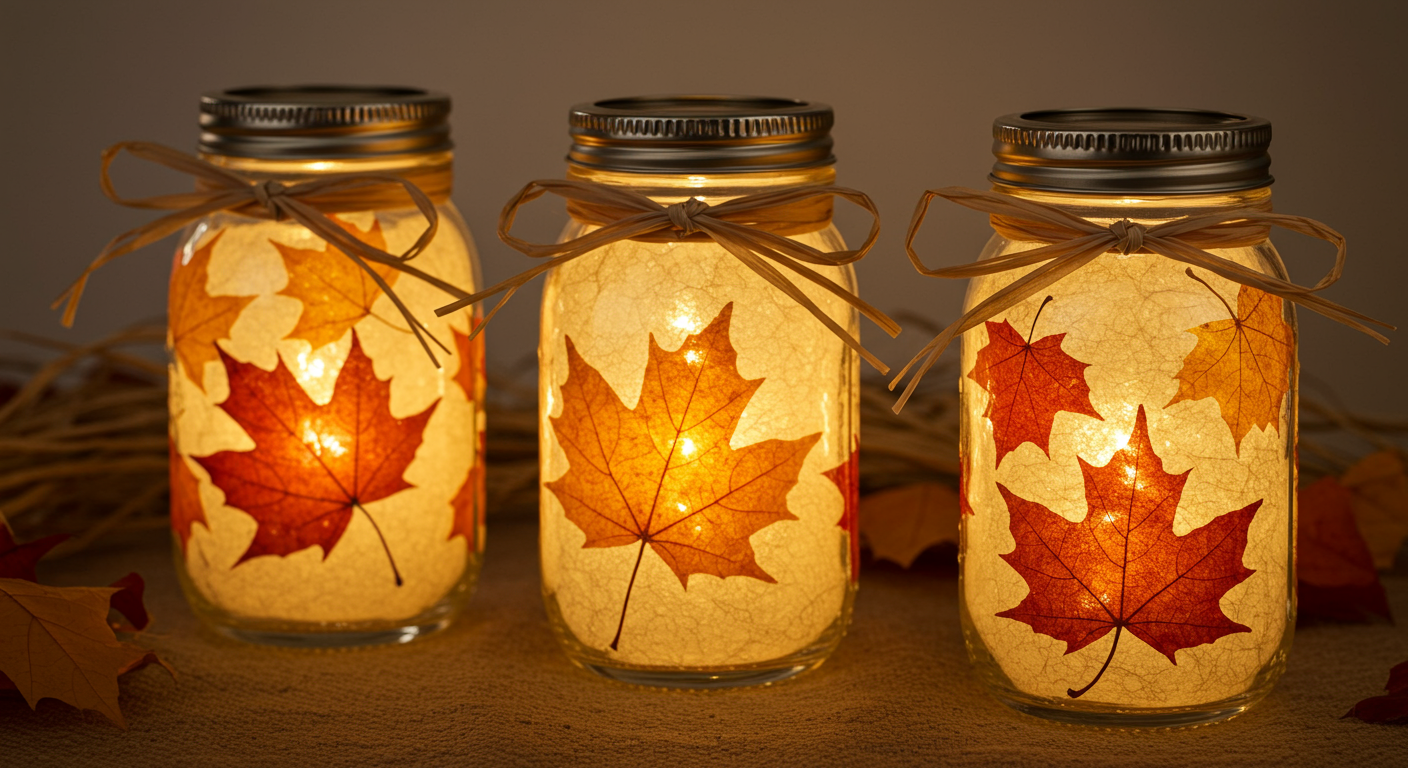
Photo courtesy of sparkandchemistry.com
What you'll need:
Instructions:
Start by making sure the outside of the jar is clean by giving it a good wipe with rubbing alcohol. Also, the leaves won’t stick if the jar is oily or dirty. Next up: make sure the leaves are malleable by bending them a little bit to loosen them up (stiff leaves won’t stick either). If they are thin, fabric leaves, they should easily form around the jar and if they are real leaves, you should dampen them slightly to unstiffen them. Ironing the fabric leaves will also loosen the fibers. To decoupage, you should dip your brush or your fingers in the Mod Podge and paint a thin layer on a section of the jar. Once that layer becomes quite sticky (check by dabbing your finger on it), stick a leaf on the jar. Paint more Mod Podge on top of the leaf in thin layers, making sure to smooth out the edges. You can do this by starting in the center of the leaf, and pushing your way out to the edges with your fingers. It may take a few layers, but the leaf should stick to the jar. Don’t be afraid to use your fingers to smooth out the leaf so that it is fully secure. Layer more leaves on top, filling the jar and once all the leaves are on, it will take a few hours to dry completely.
Source: sparkandchemistry.com
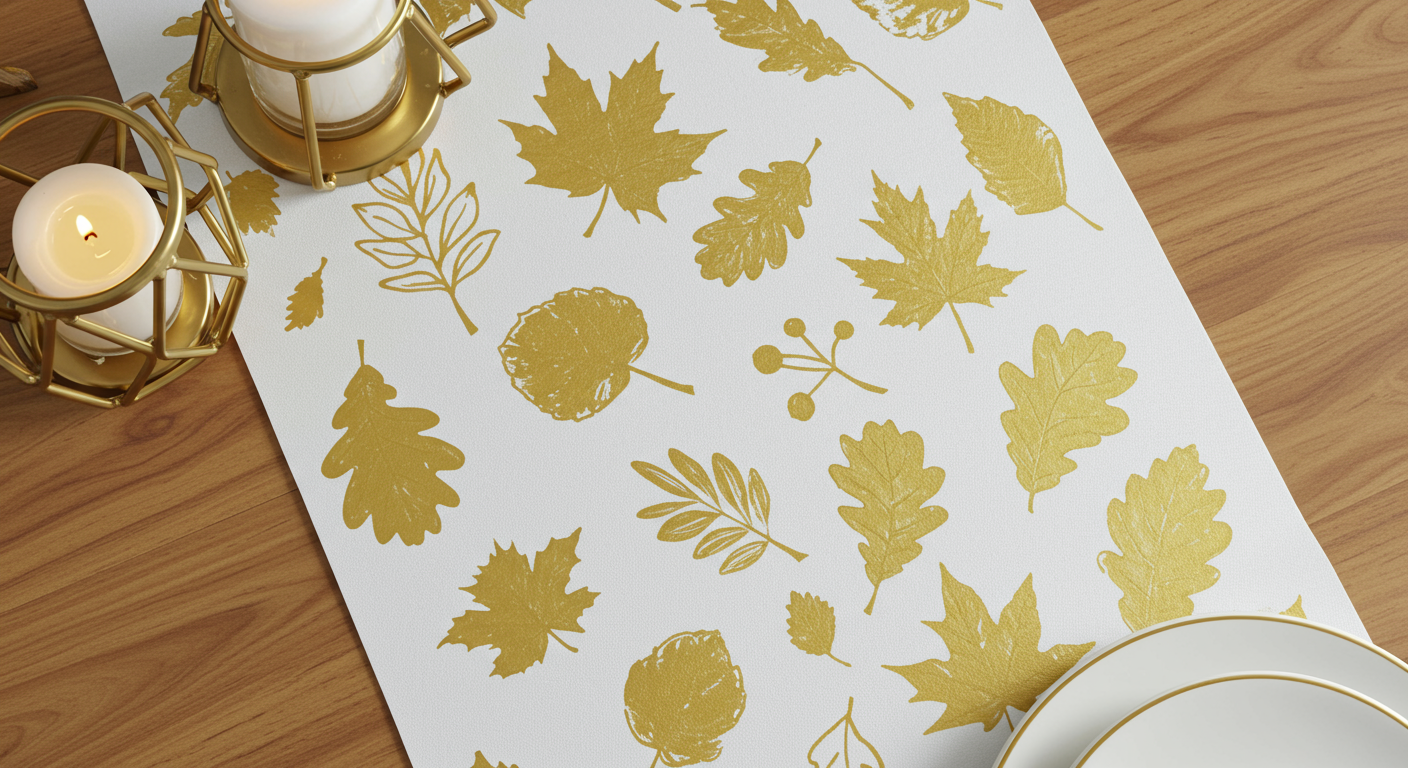
Photo courtesy of designimprovised.com
What you'll need:
Instructions:
Have the kiddos unroll the paper and cut it to size to fit your table - be sure to allow a little extra to hang off each edge of the table. Depending on the width of the paper you may want to fold it under to make the runner narrower. Handle the paper with some care to avoid putting too many wrinkles in it. Using the stencil and craft paint start making whatever pattern you want down the middle of the runner and then let dry and roll up the runner until you plan to use it!
Source: designimprovised.com
Don't miss out on our previous articles Where to Pre-order Your Thanksgiving Turkey, How to Prepare Your Thanksgiving Turkey, and 5 Thanksgiving Recipe Ideas to Make with Kids.

Trends, prices, and insights shaping Silicon Valley housing this winter

Trends, prices, and insights shaping Silicon Valley housing this fall


You’ve got questions and we can’t wait to answer them.